How to Finish Drywall like a Professional
We all wish we were handy! Thankfully, we have the internet so we can fake it! Tutorials these days make just about any project possible for those of us who are hard-working and can pay attention to instructions. If for some reason, you have a strong desire to install drywall on your own, we have your back! We will rate the installation of drywall to be a intermediate project but it is definitely plausible for most beginners!
Here is our guide on how to drywall like a professional:
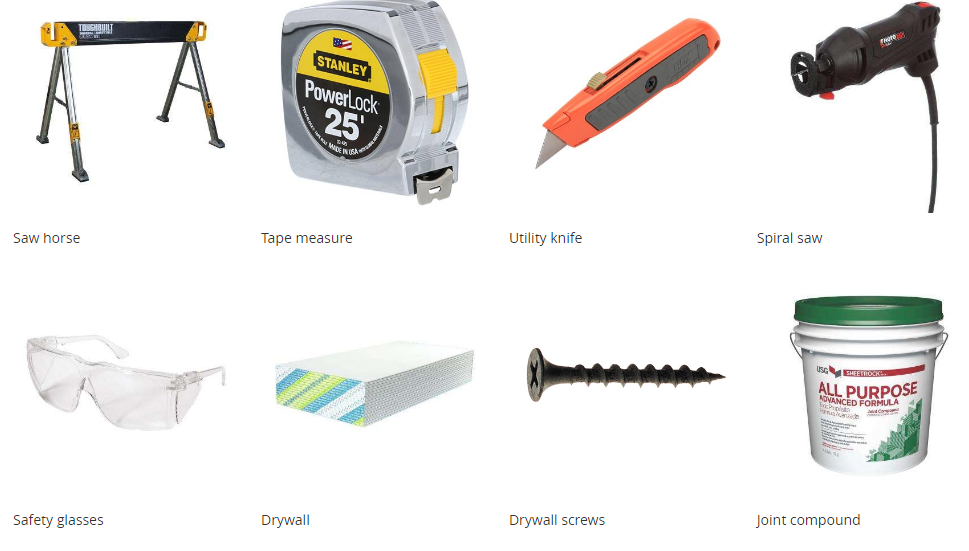
Drywall Supplies
Now the second step would be to measure your wall and drywall. Sometimes you can use a complete sheet of drywall and just be done. Some walls can be shorter or have different dimensions which may require more or less drywall. Measure your walls and record the numbers on a sheet of paper so you do not forget. Once you have all the drywall measured for the walls you will need to plan for each open in the wall. This means plan for the windows, outlets, lights witches, and anything else that will need to be accessible.
Next, apply the drywall! Start using your drywall screws and apply from the center of the drywall and make your way to the outside. Ensure that each screw is making contact with a stud.
Trick for finding a stud: most studs are 16-24 inches apart and when you knock along the wall you will hear the space between the studs. If you have a hard time finding the stud most home improvement stores will have a stud finder.
Cutting the drywall is probably our favorite part of the whole process. What you need to do is take your utility knife and gently score a line through the drywall. Make sure you are using the tape measure or a T-square to guarantee a straight line. Now, using your knee you can create a gentle snap in the dry wall to crack your scored line. Once this is done, you can use the utility knife to cut off the remaining paper that is holding the sheet together. For all the non-linear shapes you might have to cut, carefully use the spiral saw. The spiral saw is great for cutting out the circles for light fixtures or rounded out edges for pipes/outlets.
Corners!
You might run in this problem where two dry walls sheet meet an edge and the corner is visible to the room also known as an outside corner. For these corners that stick out, you will need to use a drywall bead or trim tex to conceal and protect your corners from any future damage. Measure, trim, align and then use proper adhesive when applying the trim to the corner.
After installing your dry wall, there are just a few more steps to follow. You want to be sure to complete the job by enclosing the gaps with a wall compound, netting (or mesh), and putty knife. This step will ensure that your walls look smooth and flawless.
Here is a step by step guide (with pictures!) to follow the mudding process.
Once you get that drywall finished, or even close to finished, give us a call so we can help! We can paint, repair or smooth out just about anything you throw at us
Sources:
http://diyjoy.com/home-improvement-hacks/4
https://biggerthanthethreeofus.com/how-to-install-drywall/
https://biggerthanthethreeofus.com/how-to-mud-drywall/
https://www.homedepot.com/c/how_to_install_drywall_professional_steps_HT_PG_BM