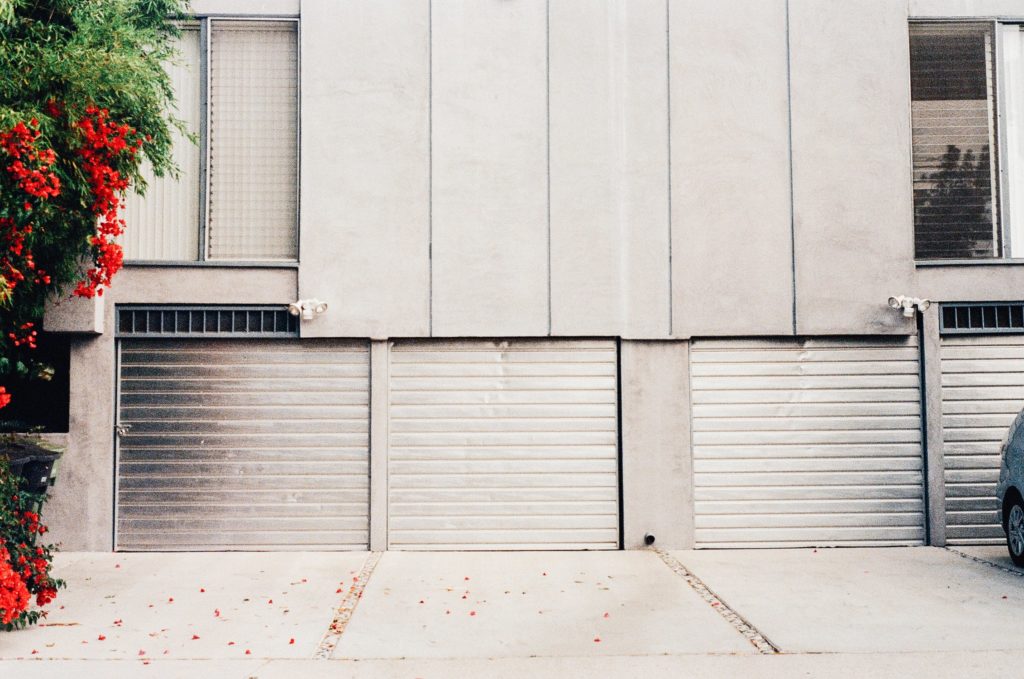
How to Paint Your Garage Interior and Walls
Prep work and cleaning time will be the biggest difference between painting the garage and painting any other interior area of your home. A finished garage looks and feels more like part of your home. It makes spending time there more enjoyable and impresses potential buyers by the obvious care you have taken for your entire home.
Tools for the job:
- Paint and primer
- Masking tape
- Paint rollers, tray, edging brush (extension pole if necessary)
- 5′ Ladder
- Vacuum with attachments or broom
- Cloth tarp
- Drywall compound and/or spackle
- Putty knife
- 200-grit sandpaper
- Tack cloth
- Bucket
Prepping your Garage Walls
The prep work is similar to the work you would do before you painted any room on the inside of your house:
- Remove switch plate covers
- Remove light fixtures
- Tape around trim, doorways, electrical boxes and light switches
- Clear the area completely, if possible
- Fill any holes, sunken nail heads or cracks with spackling or drywall compound.
- Caulk all cracks and seams (don’t use silicone – paint will not stick to it)
- Use 200-grit sandpaper light sand the repairs to give a smooth finish to your repairs
- Clean sanded areas with tack cloths to pick up the residual dust
- Lay cloth drop cloths on the floor (plastic can be slippery)
Clean and Clean Some More
Remove dirt from the top of baseboards using a de-greasing cleaner
Sweep dirt and cobwebs from the walls and ceiling with a broom
Priming
Now that everything is cleaned, taped, covered and caulked, the best thing you can do for your garage before applying the finish paint is to prime it. The best choice for interior garage walls is an exterior latex primer. Exterior primers reduce cracking and mildew growth and the latex offers flexibility for those changes in temperature that result in cracking. If your garage has heavy stains, then a stain-blocking latex primer will be your best solution. If you’re able, let the primer dry for a minimum of 24 hours.
Choosing the Paint
While you may be painting the interior of your garage, it is not the same as painting the interior of your home. Eggshell and low-gloss sheens work well for truly interior spaces but are not recommended for the garage because of its exposure to the weather. Thicker, latex exterior paint with its mildew-resistant components and higher gloss finishes will endure longer and be easier to clean.
Don’t assume you are obligated to paint your garage walls white just because the whole world paints their garage walls white. Does it make sense that the area where spare tires, lawnmowers, chainsaws, paint cans, garden tools, wheelbarrows, and bicycles are kept should be white? How about a neutral light blue, gray or light taupe or a color that fits well with your exterior so that when the garage door is open it will have a seamless effect?
Once you’ve thoroughly, cleaned and primed your garage walls and ceiling, it’s just a matter of putting on the paint as you would in any other room. Use a small brush to cut in the windows, doors, trim and walls first and then brush or roll on (preferred) the rest of the surface.
Painting the Floor
If you really want a totally new look for your garage, don’t stop with the walls and ceilings. Painting the floor will give your garage a showroom appeal and be the envy of the neighborhood. If you really have a wild hair, paint the garage doors!
Before you consider painting your garage floor, do a moisture check first. Take a large square of plastic sheeting (2′ or 3′) and make sure the edges are thoroughly taped down to the floor. If, after a couple of days, there is water on the underside of the plastic you have a moisture problem and will need to put down a good vapor barrier before you apply a primer coat.
Don’t begin to paint your garage floor without checking the weather first. The outside air should be at least 60 degrees and getting warmer and the garage slab must be a minimum of 50 degrees otherwise the epoxy will never set. We live in Durango so even in the summer, temperatures can soar into the 90’s mid-day, but drop to the low 40’s at night. Be sure you pick the right time of year or hire professionals who have the right equipment.
In addition to the tools for painting the garage walls, here are some more helpful tools:
- Medium-nap, lint-free roller and nylon paintbrush
- Stiff-bristled nylon push broom
- Safety goggles
- Odor mask with filters
- Epoxy crack filler or concrete filler
- Squeegee
- De-greaser
- Epoxy paint or kit
- Kitty litter or sawdust
- 200-grit sandpaper
- Tack cloth
One thing that remains the same as prepping the walls is the cleaning. Clean, clean and clean some more.
Remove ALL oil and grease using a layer of sawdust or kitty litter. They absorb excess oil very well but be sure to leave the whatever material you use on the floor for at least 24 hours. After you’ve absorbed the excess oil and grease and cleaned up the sawdust or kitty litter, pour a concrete cleaning solution directly onto the stains and leave it to sit for about an hour. Rinse it with boiling hot water and scrub with a broom.
After all the heavy stains are gone wash the entire area with a diluted de-greaser.
Repair
An epoxy paste can be used to fill in cracks in the floor. After drying, finish the repair by sanding it smooth or, depending on the size of the crack, grinding the area smooth so that it is flush with the surrounding floor.
When everything is cleaned, patched, and the floor is dry, test your floor to see if it should be etched. A slightly rough surface will allow the paint to absorb and adhere better. Sprinkle a little water on to the floor. If the water forms small droplets, the floor will require etching. If it quickly absorbs, no etching is required, and you can go on to seal/prime your floor. You can etch the floor by getting a concrete etching solution from your local hardware or home improvement store. Follow the directions on the product and finish by rinsing thoroughly. Retest to ensure that water dropped on to the floor does not bead up.
Dry Thoroughly
Use as many fans as you must to completely dry the floor. It may take longer than one overnight especially with cooler temperatures.
Sealing/Priming
Before you begin to seal and paint the floor, ensure that your garage is very well ventilated and that airflow is constantly circulating throughout the area. Sealing the garage floor can act as a primer and help reduce moisture. The sealer should be a solvent-thinned epoxy or a water-based floor epoxy. Just like the walls, cut the trim in using a small brush and then use a lint-free, medium-nap roller to liberally and evenly apply the rest of the sealant to the floor. Don’t apply paint for at least 8 hours.
Painting the Floor
Begin the final step by using an epoxy paint or paint kit (with flakes) designed and created especially for use on garage floors. Follow the directions and apply the first coat by cutting the edges in using a nylon brush and a lint-free roller to create a thin layer. Dry the first coat for at least 24 hours or until thoroughly dry. Apply another two coats, drying thoroughly between each, for extra protection and durability.
Follow the directions from the epoxy paint kit to cure the paint completely. It may be as much as a week before you’re pulling your cars into your newly finished garage, but it will be well worth the time spent. Freshly painted walls and a new epoxy floor are a great way to give new life to an often-neglected but important part of any home.
Some of you may eat this stuff up, while the rest of you roll your eyes and scoff. That’s the beauty of hiring someone like me – we love this kind of work! See projects we’ve done in the past here.