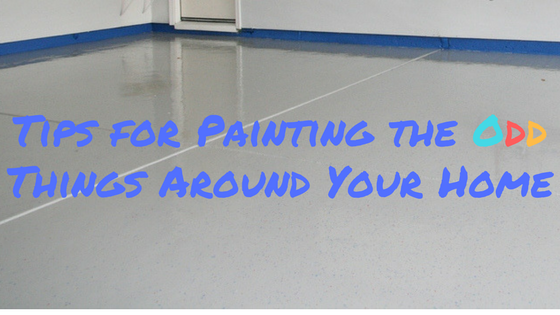
Tips for Painting the ODD Things Around Your Home
We all have those weird items around the inside and outside of our house. You know the ones I am talking about – the floors, furniture or walls you have thought about painting but were not sure how to even begin.
Here on some tips for the things around the home that you have always wanted to paint, but had no idea you could paint!
Painting a Concrete Patio Floor
- First things first, clean off your patio. Use a scrub brush to get out all the dust from the nooks and crannies. Allow this to completely dry.
- Now, apply a primer. I know this step is not the most desirable but it will save you money in the long run. Primer usually is less expensive compared to using multiple layers of paint. Use a paint tray and a roller for best results.
Pro-tip: Pick an exterior paint with a primer already in it!
- Paint a layer of your color of choice! Allow to dry a few hours or up to a day.
- Now it is time to seal! You want your hours of manual labor to last, don’t you? Especially if the area you are painting gets a lot of foot traffic or has furniture on it, you are going to want he added layer of protection.
If you’re more of a visual learner, here is a video of the process!
Painting Your Uncoated Garage Floor
There is something so sleek about a painted garage floor. It takes the industrial feel down a level. Garage floors are tricky to paint though so this is easier said than done! There are oil spills, paint spills, and who knows what else.
- So the first step probably comes as no surprise – you will want to be sure to get all of this cleaned up the best you can.
- The next step is to use a concrete cleaner and etching solution together in a plastic pump sprayer. Spray this on the floors and use a non-metal brush to scrub away! Do not allow this stuff to dry! Once you are done scrubbing, spray off the garage floor with a power washer or pressurized hose.
- Mop the floors to sop up excess water and speed up drying time.
- After the surface is completely dry, it is time to prep and paint!!
Again, if you are a visual learner, here is a step by step with pictures from Behr.
Painting Wicker Furniture
Like most painting projects, it is all in the prep work for these beauties. Wicker furniture can be expensive and while it’s tempting to replace it, a coat of paint could really make them look brand new!
- Start with cleaning off you piece with a dry cloth or vacuum.
- Scrape off or power-wash (depending on the durability of your wicker) old paint
- Everyone’s favorite… PRIMER, PRIMER, and MORE PRIMER.
- If you couldn’t tell by the capitalization, this step is important! You will want to use an oil-based primer to save you on time and agitation.
- Painting… use an oil-based paint and determine if you need an indoor or outdoor paint. Outdoor paint is going to be more durable.
For more detailed instructions read: https://www.wickerwoman.com/articles/painting-wicker
Panting Wood Paneling
I know… shiplap and wood paneling are somehow trending again. While I do not always understand it, if you already have it in your home, I can understand not wanting to replace it! With a little elbow grease and paint, you can save yourself a lot of money! Plus, the right paint colors always have a way of making your home look more modern.
- PREP, PREP, and more PREP! Are you seeing a pattern yet?
- Clean paneling, fill nail holes, caulk cracks, sand paneling, and sand trim!
- Now apply primer and paint!!
- Better Homes and Gardens gives a good demonstration if you need it!
If all of this seems too overwhelming, remember we would love to do it for you! We are in Durango, Colorado and available by phone anytime at (970) 903-4305.